
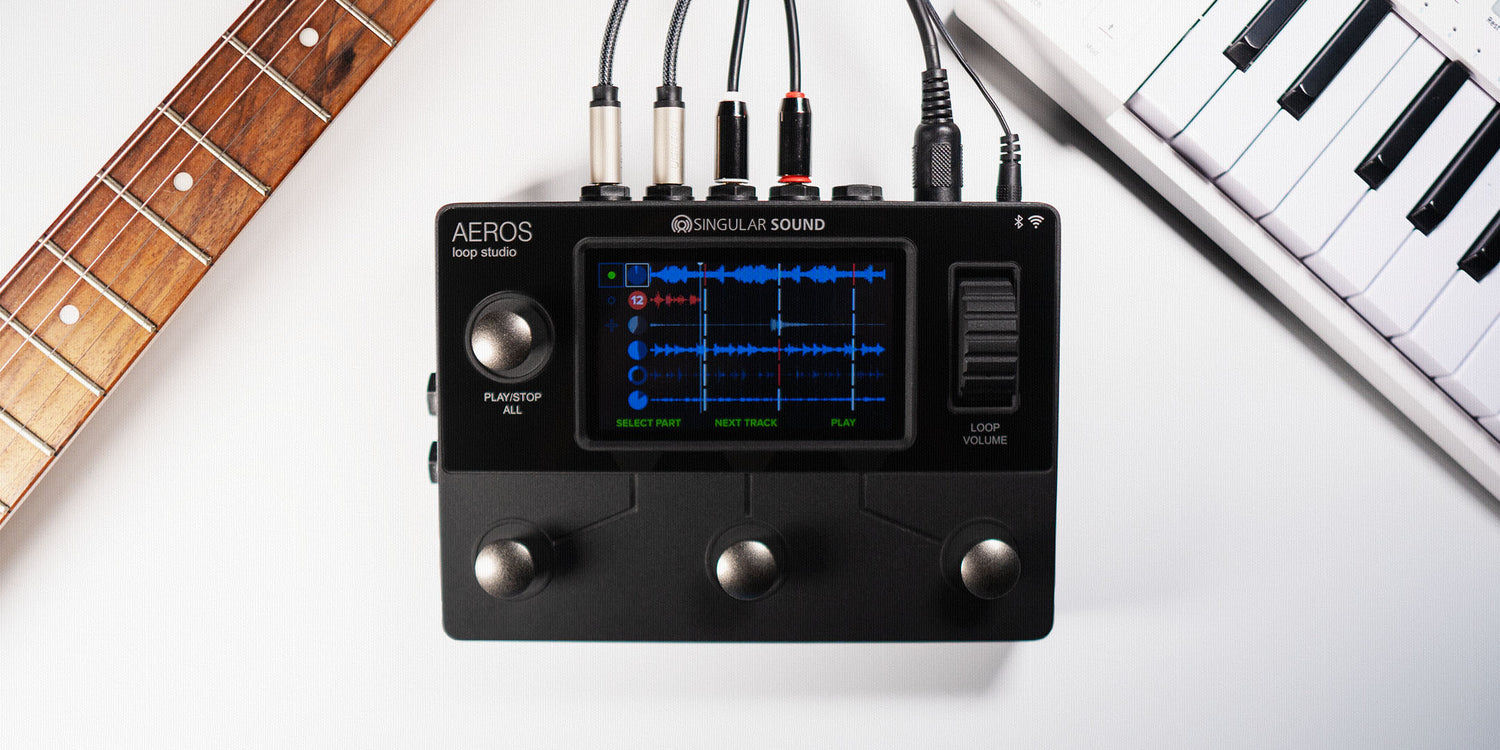
The Aeros Loop Studio is a multifaceted 6 track looper pedal with built-in screens and onboard mixing. In this post we'll make sure you're getting the most out of it.
Whether you've got the Aeros, or you've been considering buying one, this blog will get you prepped to crush your live performances.
Let's get to it.
1. Take Advantage of Dynamic Read
Did you know? We recently rolled out our latest Aeros firmware, which increased its recording memory to up to 10 hours.
Previously, audio files had to be loaded to the device's RAM in their entirety before starting a song. With Dynamic Read, audio files are loaded continuously in sections, allowing for a massive boost in space on the Aeros. How much? You get up to 20 minutes per track of mono recording.
With that in mind, it's time to look past the limits of what looper pedals have done in the past. With the Aeros, you can create without the heavy parameters so often imposed by clunky devices and focus on creating the music you want to create.
2. Learn the Code, Master the Looper Pedal
"Color coded waveforms" sounds nice and all, but if they don't serve a function, then what's the point? We've carefully crafted each of our colors to serve a specific, pivotal purpose. If you learn what they mean, you can optimize your Aeros Loop Studio performance.
Don't worry, we brought pictures:

Naturally, the red and green colored waveforms will be familiar. If you key in on the yellow and faded ones, though, they point to a bit more of an advanced technique. If you didn't know, the Aeros allows for unlimited overdubs. When you go to record one, the waveform will show in yellow over the track you're overdubbing. Faded blue waveforms represent layers that haven't been finished. It's important to note that undone layers can be brought back into the composition, or written over.
It's not just the waveforms that are color coded. The "Track Clocks" are, too.
Check it out:

The function of Track Clocks is to show you how much time has elapsed on a given loop. The ones to focus on are:
- Gray clock: indicates that an entire track is muted.
- Grey clock with green outline: you are currently selecting the muted track.
- Clock with a hole: indicates that the selected track has an unfinished layer.
- Clock with a big hole: indicates that a base layer of the track was undone, and can now be redone or recorded over.
- Clock with white border: indicates that the selected track is locked.
We built these to make sure that you never get lost in the loop. By getting to know them, you'll quickly build a dexterity for the Aeros that will take your performance to the next level.
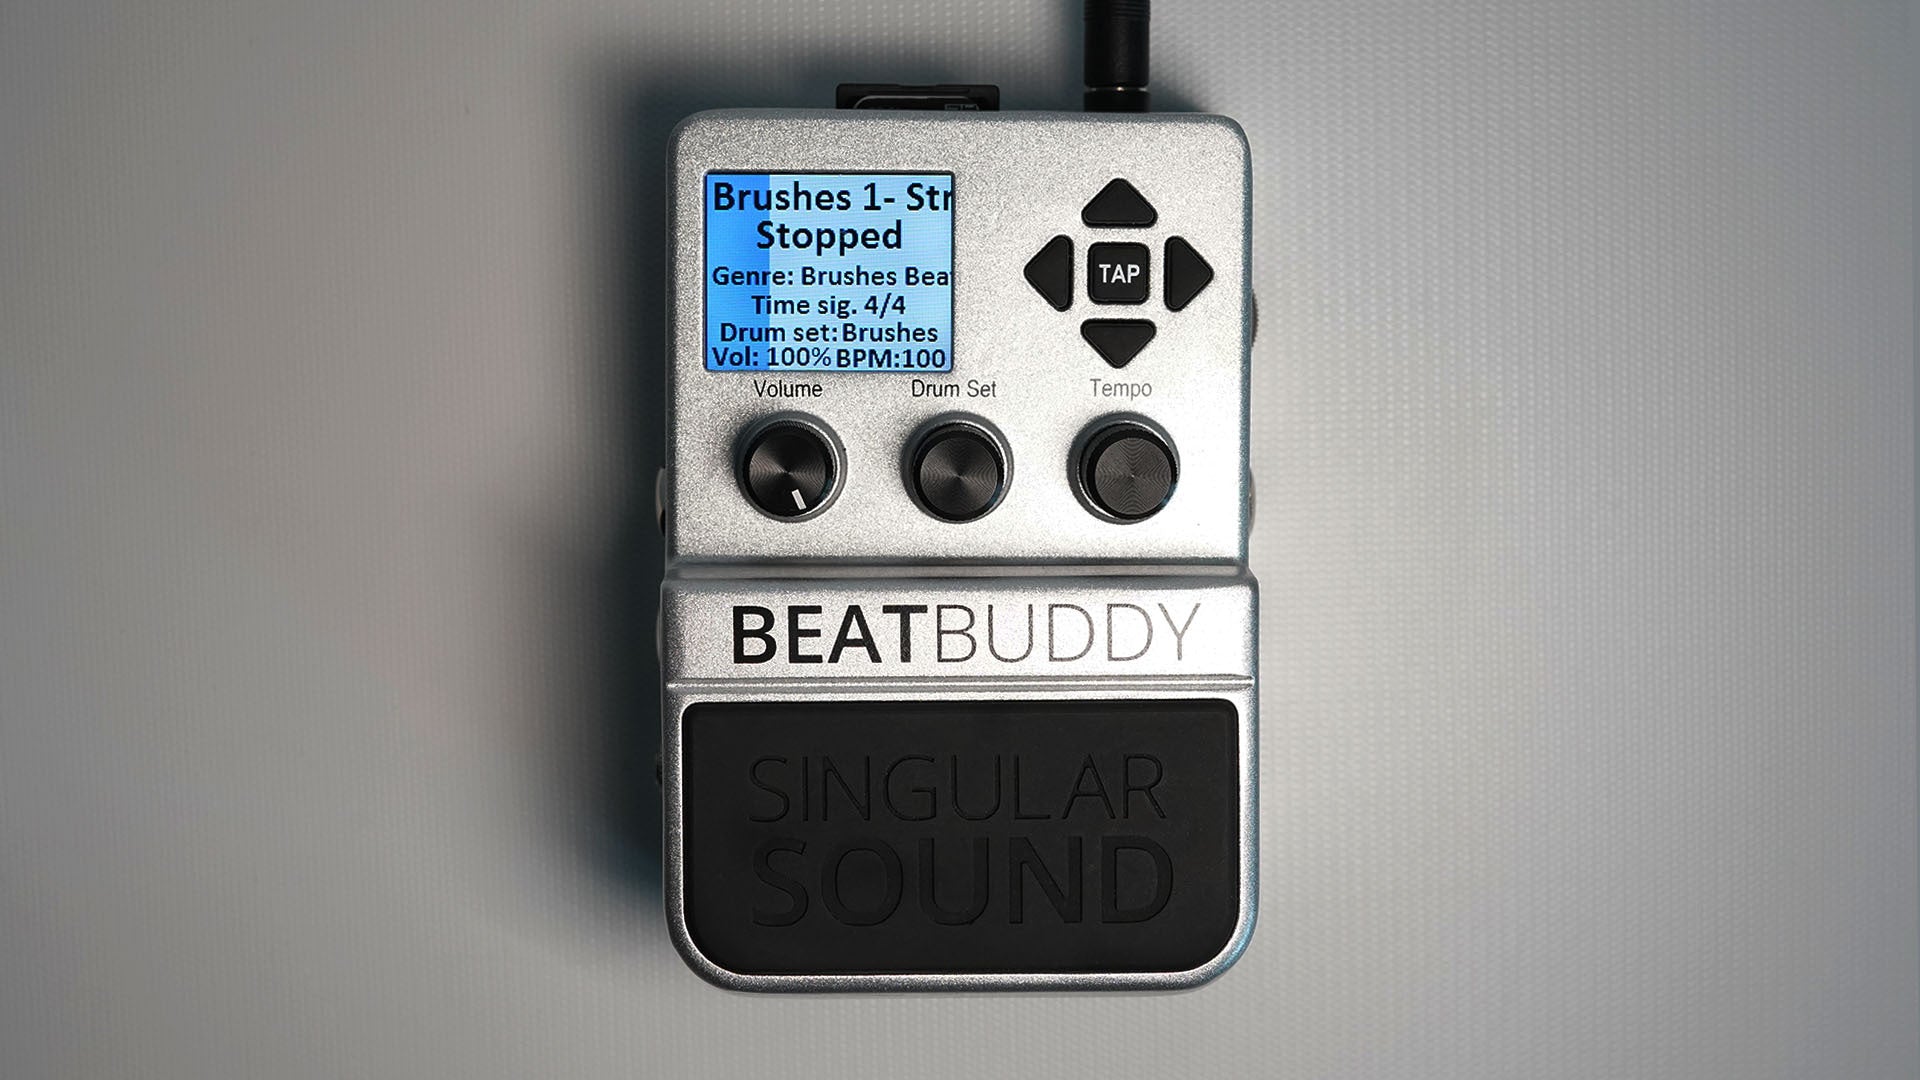
3. Full Sync w/ the BeatBuddy Drummer Pedal
There's no doubt, the BeatBuddy is our baby. So naturally we had to design the Aeros to be totally compatible with it. Syncing the two together is simple. You can watch the walkthrough here:
Once you've integrated the two pedals, they make an incredible duo. Your tracks can be quantized to the beat, or even to the measure. "Quantize to measure" means that the Aeros will start and end recordings at the beginning or end of the measure. That gives an increased level of flexibility to match your play style.
You may, of course, write in "freeform mode," which won't quantize your tracks at all. The BeatBuddy and Aeros Loop Studio together turn you into a complete one-man-band. You'll get big, authentic sound, and unrivaled creative potential.
4. On-board Mixing for Total Live Looping Control
One thing that sets the Aeros Loop Studio apart from other looper pedals is its DAW-like capabilities. We packed it with an onboard mixer, so that you can control individual tracks with ease.

To reach the mixer view, simply head to the menu and select it. Once you're there, you'll see a fader dedicated to each of the tracks you've recorded, plus the "master" level. You can use Aeros' scroll wheel to change the volume of each of them. That means you don't have to bend down while you play.
Want that chorus riff to really punch? Not a problem. Want to blast the drums and swells for the big finish? Just a scroll away.
Take a look at it in action:
What did we learn?
We hope you feel better acquainted with your Aeros loop pedal. Here's a short summary for your reference.
- Our Dynamic Read memory system vastly improves the Aeros' recording time. Utilize it!
- Learn the color codes, both for waveforms and track clocks. This will help you to be grounded in your loops and improve your live performances.
- Pair it up with the BeatBuddy! By syncing the devices, you get dual quantizing abilities, and you supercharge your live looping sound.
- Master the onboard mixer. You can get there from the menu. Practice changing volume levels hands-free.
There we go. Now you're an Aeros expert. We can't wait to see what you make with it. Our gear is meant to drive your passion, and we're always looking for constructive feedback to work into our updates. Drop a comment and tell us what you'd like to see next!
Until next time, you can follow us on Twitter, Instagram, and Facebook. Check out more Singular Sound blogs to stay in the loop. Plus, sign up for our newsletter and get into the Singular Sound inner circle. You'll be the first to hear about updates, deals and more.
And of course, keep rockin'.

Leave a comment
All comments are moderated before being published.
This site is protected by hCaptcha and the hCaptcha Privacy Policy and Terms of Service apply.